
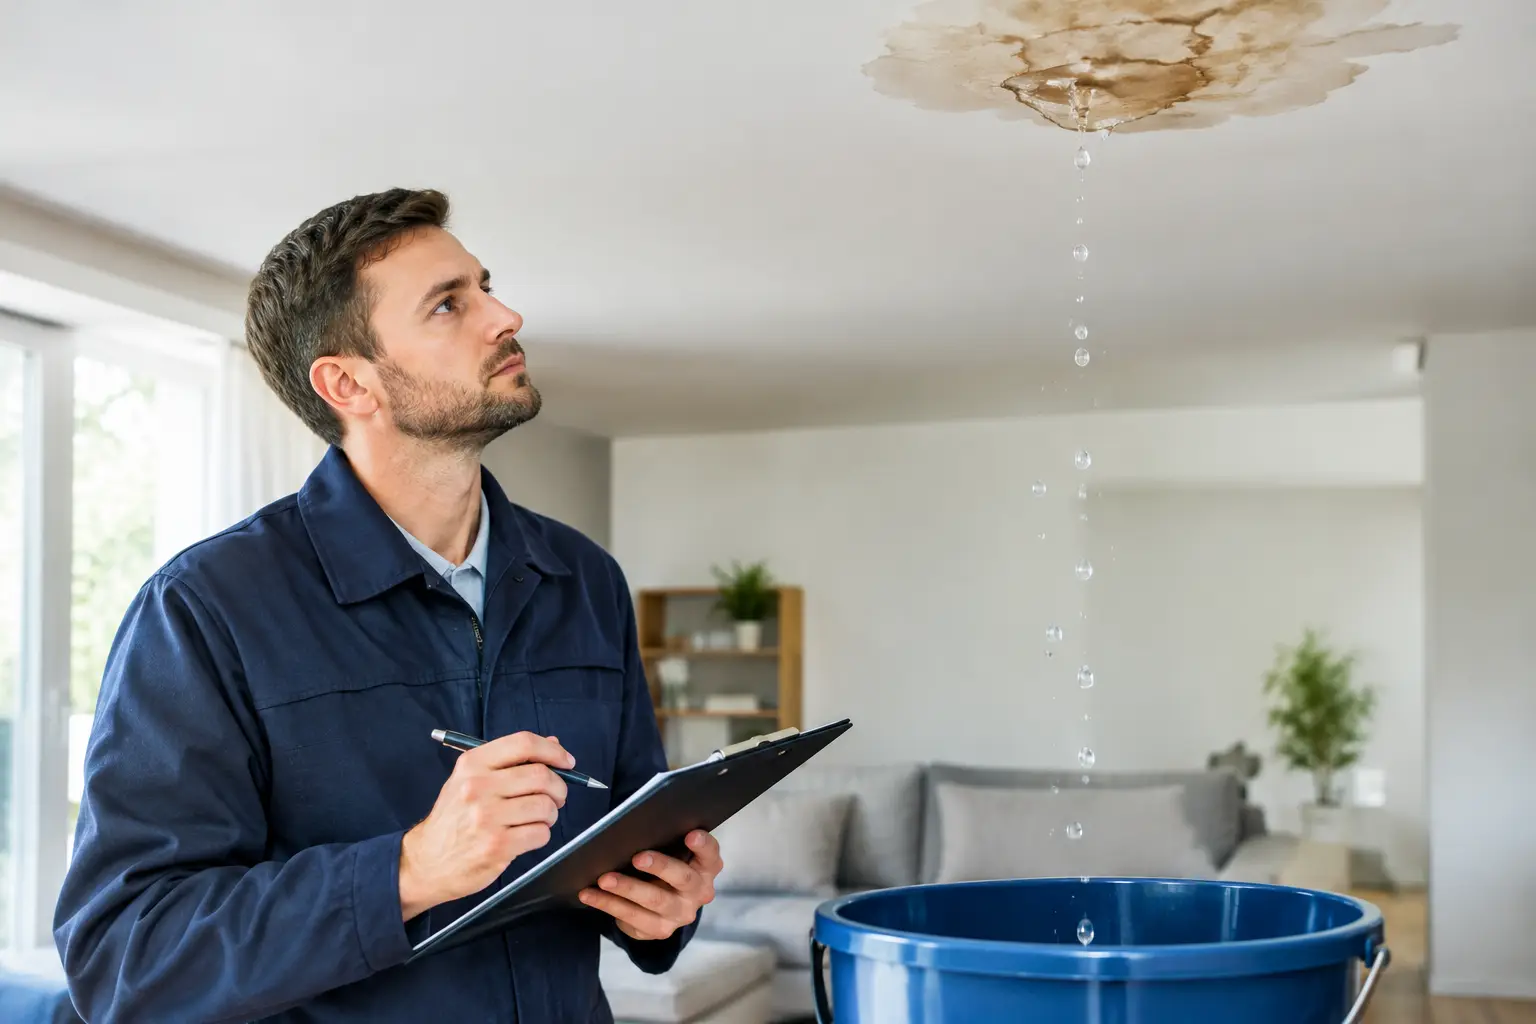
A water stain spreading across a ceiling, damp carpet near a wall or an unexplained jump in your water bill can quickly become more than a plumbing problem. If you need to make a claim, a clear water leak insurance report gives your insurer the practical evidence they need to assess what happened, where it started and what repair work is required.
The right response is not to guess, patch over the damage or wait for it to worsen. Isolate the water if it is safe to do so, take photographs, and arrange for a licensed plumber to identify the source. Every drop matters when water is travelling through walls, floors or ceilings.
What is a water leak insurance report?
A water leak insurance report is a written plumbing assessment prepared after investigating a leak or water-related damage. It explains the likely source of the issue, the affected plumbing components, the testing or detection methods used, and the repairs needed to stop the leak.
It is not an automatic approval for an insurance claim. Your insurer makes that decision under the terms of your policy. However, a detailed report helps replace uncertainty with facts. It can show whether the problem was a sudden pipe failure, a failed flexi hose, a leaking hot water system, a concealed pipe leak or another plumbing fault.
For Sydney property owners, this distinction can matter. Water damage may appear in one room while the actual leak is metres away, concealed beneath a slab, behind cabinetry or within a wall cavity. Treating the visible damage alone is rarely enough. The source needs to be properly located and repaired.
Why insurers ask for plumbing evidence
Insurers generally need to understand two things: what caused the water escape, and whether there is an active issue that still requires repair. They may also consider the condition of the affected fixture or pipework, evidence of previous leaking, and the extent of water damage.
A professional report creates a documented timeline. It records what was found on the day, what tests were carried out, and what action was recommended. That is far more useful than saying a wall was wet or a cupboard had started to swell.
It also protects you from an incomplete repair. A tradesperson may be able to stop an obvious drip, but if water has migrated through building materials or the original cause has not been confirmed, the issue may return. Good diagnostics are about getting to the root of the problem, not applying a temporary patch.
What should be included in a water leak insurance report?
The best reports are specific, plain-English and supported by observations from site. They should identify the property, the date of inspection and the areas assessed. More importantly, they should state the findings without overstating what can be proven.
A useful report will usually cover:
- the reported symptoms, such as ceiling staining, low water pressure, a high water bill or visible moisture
- the suspected or confirmed leak source, including the relevant pipe, fitting, appliance or fixture
- the diagnostic methods used, such as pressure testing, moisture readings, thermal imaging, acoustic leak detection or CCTV inspection where drainage is involved
- the condition of the plumbing and any signs of deterioration, failure or ongoing water escape
- the repair work completed or recommended, including whether further access, restoration or investigation is needed
- dated photographs and, where appropriate, test results or footage supporting the findings
The wording should be accurate. For example, a plumber may be able to confirm that a burst copper pipe caused active leaking. In another case, they may identify moisture consistent with a concealed leak but need additional access to verify the exact point of failure. A careful report explains that difference. Certainty is valuable, but so is honesty about the limits of a non-invasive inspection.
The first steps to take when you find a leak
If water is actively flowing, turn off the local isolation valve where possible. If you cannot safely isolate the affected fixture, turn off the property’s main water supply. For apartment owners, this may be in a cupboard, plant room or shared service area. If you are unsure, do not force valves or access restricted areas - call a plumber or strata manager.
Move valuables away from the affected area and avoid using electrical fittings near water. Photograph the visible damage before removing wet items, if it is safe to do so. This includes stained plaster, damaged flooring, wet cabinetry and the leaking fixture itself.
Then contact your insurer to confirm their claims process. They may provide directions about emergency mitigation, preferred restoration providers or documents they require. You should not delay urgent work needed to stop active water damage, but keep invoices, photographs and any plumbing paperwork from the outset.
How plumbers locate hidden leaks without unnecessary damage
A premium leak investigation should begin with the least destructive methods available. Opening walls or lifting tiles without evidence can add cost, mess and disruption. The right approach depends on the building, plumbing layout and symptoms.
Pressure testing can reveal whether a water line is losing pressure. Acoustic equipment may help identify the sound of escaping water in concealed pipework. Thermal imaging can detect temperature differences associated with moisture or hot water lines, while moisture meters help map the spread of dampness through materials. In some situations, a CCTV camera can inspect drain lines and identify cracked, displaced or root-affected pipework.
No single tool tells the whole story. Experienced diagnosis combines test results with the property’s plumbing layout, the age of the installation and the pattern of damage. A hot water leak under a slab, for example, can behave very differently from a failed washing machine hose inside a laundry cupboard.
At Pioneer Plumbing Co., the aim is to provide clear findings and tidy, considered work - not turn a small investigation into unnecessary demolition. If access is required, you should know why it is needed, where it will be made and what the next repair stage involves.
Repairs, restoration and the line between them
Stopping the leak and repairing water damage are often separate stages. A plumber repairs or replaces the failed plumbing component. Depending on the damage, a restoration team may then dry affected materials, assess mould risk, remove damaged plasterboard or organise repairs to paint, flooring and cabinetry.
This separation is worth understanding when you are lodging a claim. Ask for itemised plumbing invoices and a report that clearly distinguishes emergency attendance, leak detection, repairs and any recommended follow-up work. Clear documentation makes it easier for your insurer to review the plumbing cause and for you to understand what has actually been completed.
It is also sensible to ask whether the repaired area has been tested. A replacement section of pipework, new valve or repaired fitting should be checked before walls are closed or finishes are reinstated. The proof is in the pipework, not just a dry surface on the day.
Common issues that can complicate a claim
Water damage claims can become harder when there is little evidence of the original leak, when repairs were done before the cause was documented, or when long-term deterioration is suspected. That does not mean you should leave a leak unattended. It means you should document the condition, photographs and plumbing findings as early as possible.
Maintenance history can also matter. A visibly corroded hose, a repeatedly leaking toilet or a hot water unit near the end of its service life may raise different policy questions from a sudden, unexpected pipe rupture. Your plumber should report the facts. Your insurer will interpret them against your policy wording.
For strata properties, responsibility can be more complex again. The source may sit within a private lot, common property or a shared service line. Notify your strata manager early, especially when water has affected another unit, a common corridor or a ceiling below.
A prompt, well-documented inspection gives you the best starting point: stop the water, establish the cause and keep every record. From there, you can speak with your insurer knowing the plumbing side has been handled properly, cleanly and without shortcuts.